Painting Yellow, It's not ~that~ bad, Really!
I had a set of the Assault on Black Reach Marines lying around (as well as an old, old rhino and an ancient chaplain in power armour. Also decided that I didn’t really want the missile launcher across the chest, so I modified a few old parts that I found lying about and made the one you see in the pictures) and decided to give Lamenter’s guide for painting yellow a try (Found Here: http://masteroftheforge.com/2010/08/08/tutorial-painting-yellow-armour/). I have to say I loved his idea of it being just that simple. Mine varied slightly, but I love the final colour it came out with. Only problem I had was replicating the percentage that I thinned down the Ogre Flesh Wash, but once that got situated, it was great!
Basic Scheme was:
Codes for the Paint: P3= Privateer Press P3 Hobby Product, GW= Games Workshop Product
– Prime White (Tamiya Superfine Primer)
– Brush coat of Cygnar Yellow (P3) onto them (I just did the whole mini for the most part) and let dry for an hour. I didn’t go heavy, but loved the way that particular yellow went on.
|
|
– Tested the wash directly out of the pot on a small spot, and didn’t like the colour. Thinned down the wash with Mixing Medium (P3) and was pleased with the results. I am not 100% sure of exact percentages, as I didn’t measure, but I am thinking it’s around 75-85% Wash and 25-15% Mixing Medium, respectively.
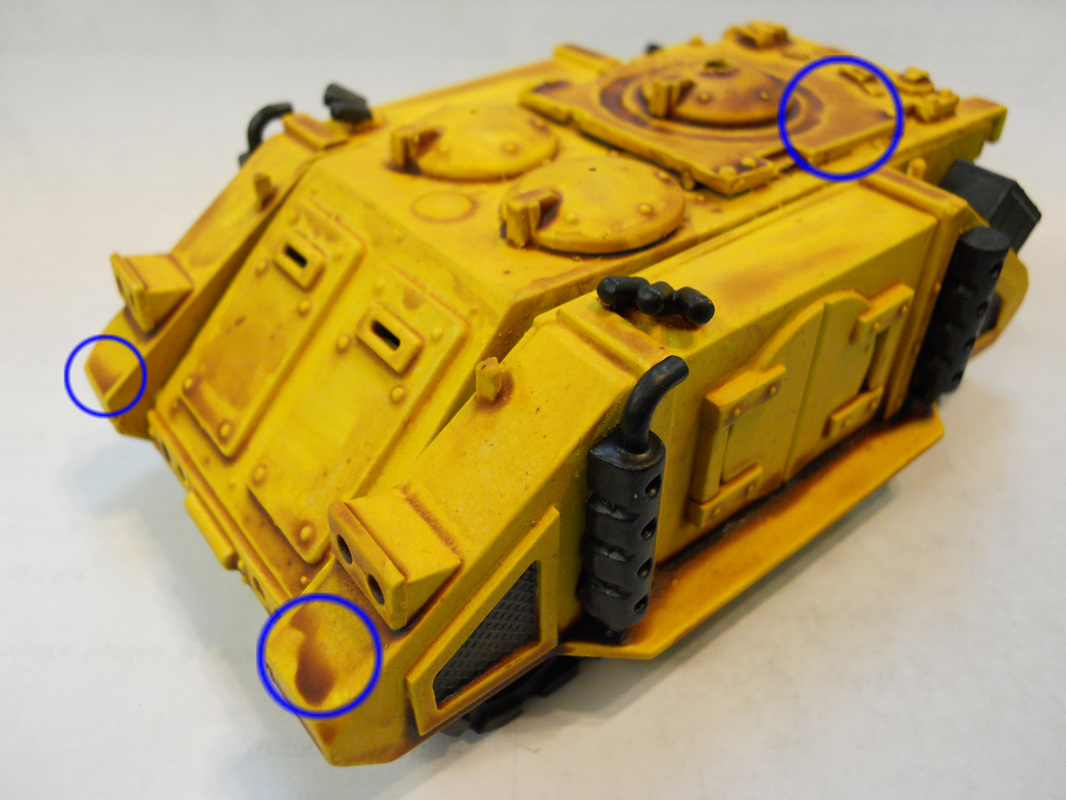
– Liberally brushed this on, trying to make sure there weren’t any drip spots or pooling areas across the models, as well as not missing spots when bubbles formed. Have to say with a tank, this is really, really hard to accomplish without missing some little spot. I have used washes on tanks several times and have gotten beautiful results, but it’s exceedingly difficult (Space Wolves Forgeworld Land Raider, 2 Rhinos, 2 Razorbacks and a FW Whirlwind, and my Deathwing Quarter-Colour panel paint scheme on the Land Raiders, black and bone)
**Make sure once you put the wash on you draw your brush across and carefully remove puddles as quickly as possible, to prevent large discoloured areas that are difficult to repair with painting over it.
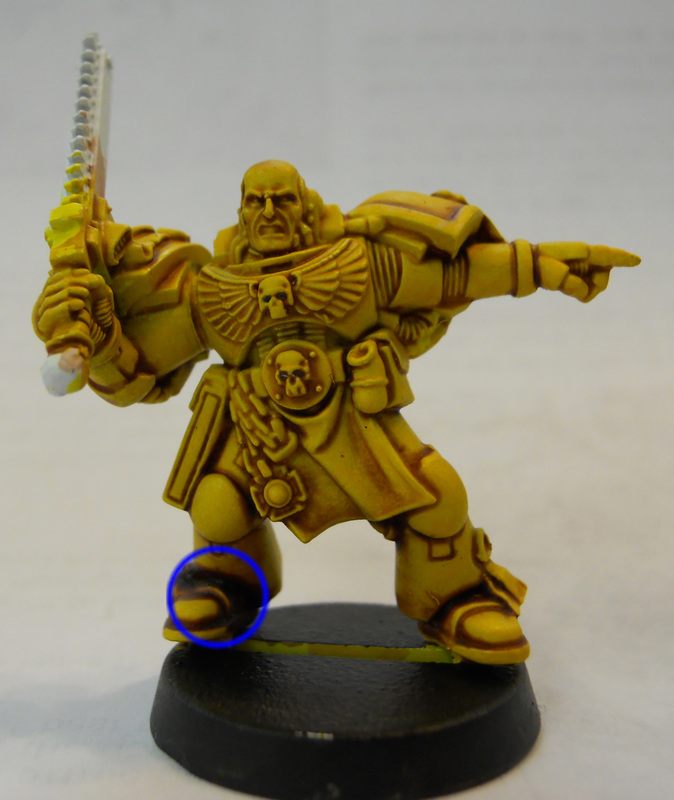
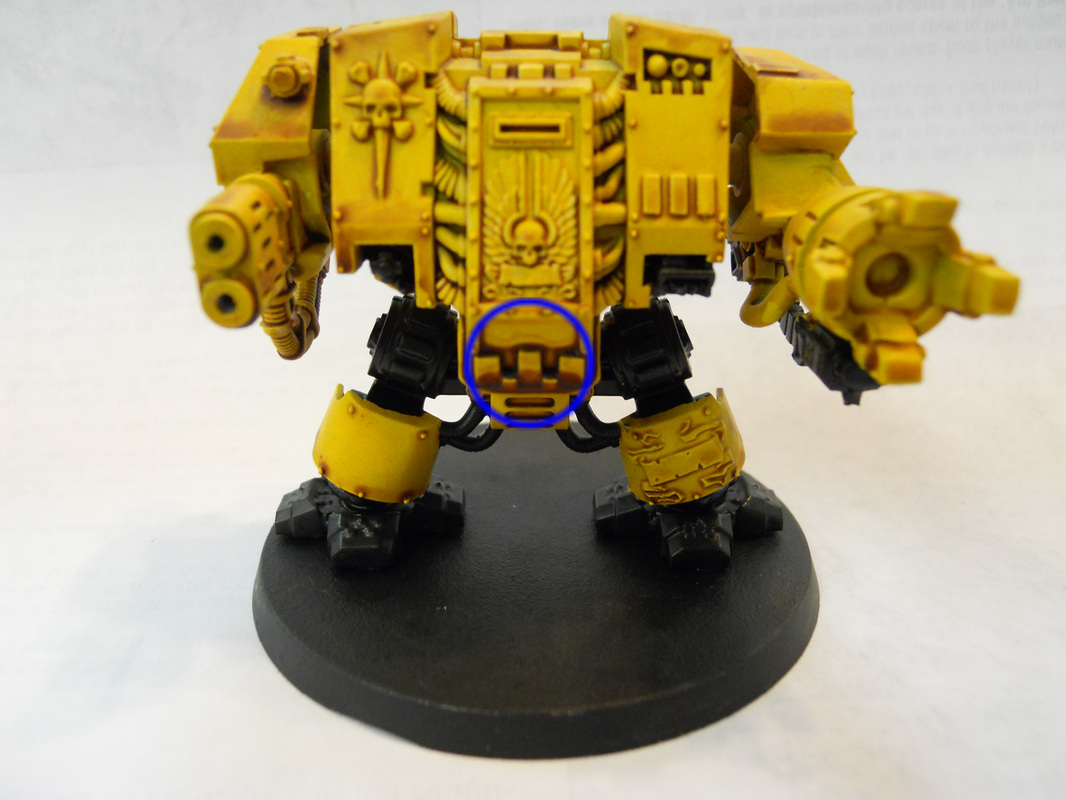
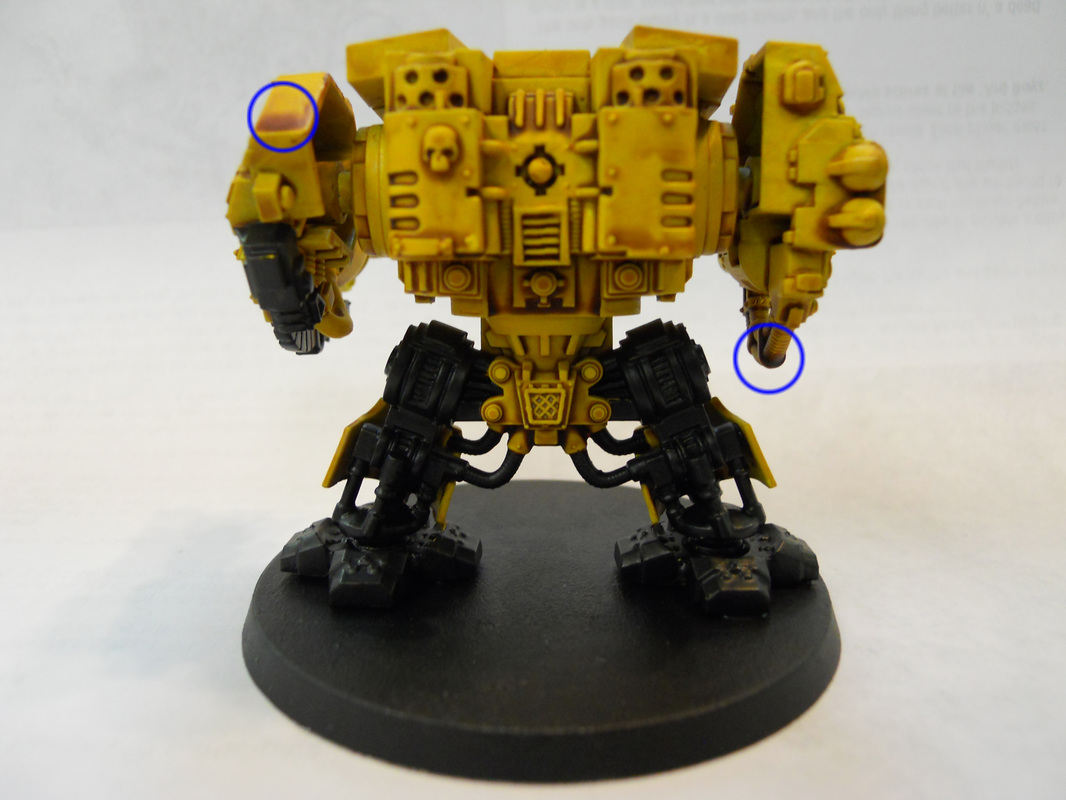
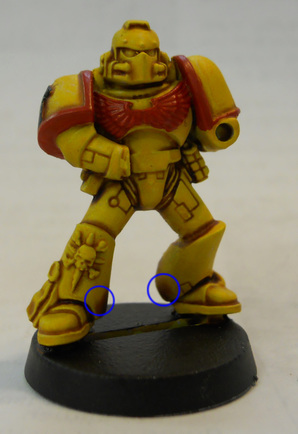
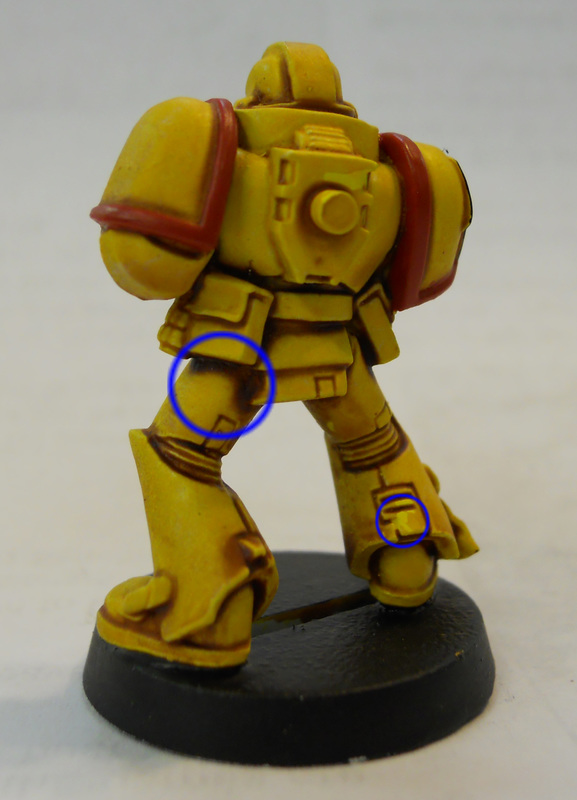
– Let wash dry, approximately 2-3 hours on regular model, and upwards of 12-14 hours for a large tank or dreadnought (to be on the safe side with all the small cracks and crevices they have) Any spots you see circled in blue on mini pictures are spots that have to be fixed due to puddling/pooling or wash didn’t get to that spot.
– Liberally brushed this on, trying to make sure there weren’t any drip spots or pooling areas across the models, as well as not missing spots when bubbles formed. Have to say with a tank, this is really, really hard to accomplish without missing some little spot. I have used washes on tanks several times and have gotten beautiful results, but it’s exceedingly difficult (Space Wolves Forgeworld Land Raider, 2 Rhinos, 2 Razorbacks and a FW Whirlwind, and my Deathwing Quarter-Colour panel paint scheme on the Land Raiders, black and bone)
**Make sure once you put the wash on you draw your brush across and carefully remove puddles as quickly as possible, to prevent large discoloured areas that are difficult to repair with painting over it.
– Let wash dry, approximately 2-3 hours on regular model, and upwards of 12-14 hours for a large tank or dreadnought (to be on the safe side with all the small cracks and crevices they have) Any spots you see circled in blue on mini pictures are spots that have to be fixed due to puddling/pooling or wash didn’t get to that spot.
|

|
– I chose to block in all the spots that aren’t yellow with black, so I could get a better idea of the armour colour once finished. This started on the dreadnought, as well, it’s going to be metal and yellow, and I like to do metals over either brown or black.
|
|
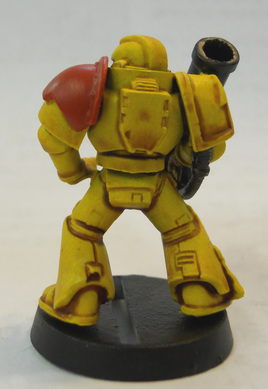
– Red trim goes along with for my paint scheme (Imperial Fists). I haven’t finished any one model entirely yet, with all the highlights, as much as blocked in all the colours so I could get an idea of how the final product was going to look, and get a realistic time frame for completion of what models I have started with.

|
|
*Note: in all the images you’ll see that they don’t have backpacks or the front pieces of the arms yet. I am drilling the guns out, and wanted to do those pieces separate, so I can get the red on the chest without worrying about getting red on the yellow hands by accident. I am planning on freehanding all the detail on the tank and Dreadnought, rather than use transfers or order the FW symbols. I actually considered ordering them as there’s new Red Scorpion models and the new Imperial Armour Book coming out next month, but to be honest, I find them lacking, plus it gives me a chance to freehand.
A few more shots of the marines after the wash has dried:
A few more shots of the marines after the wash has dried:
|
|
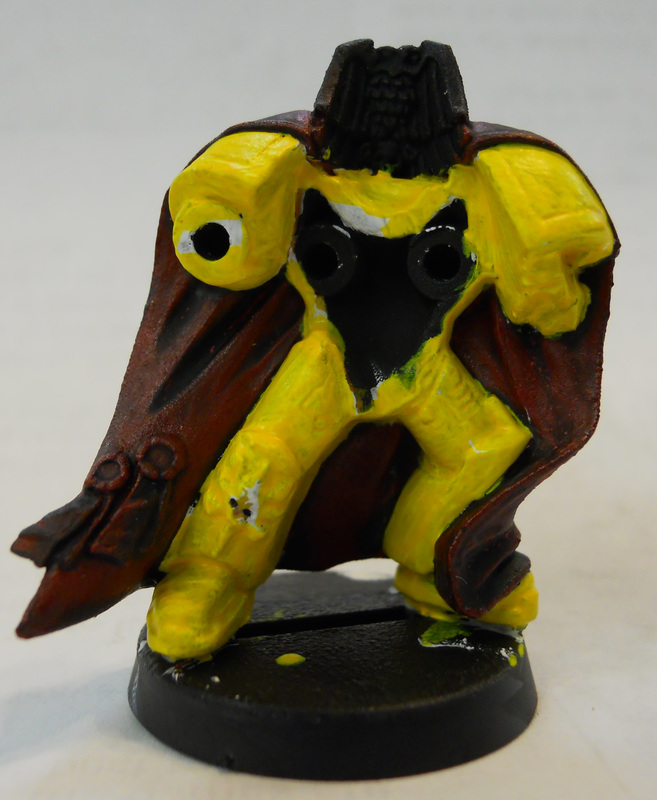
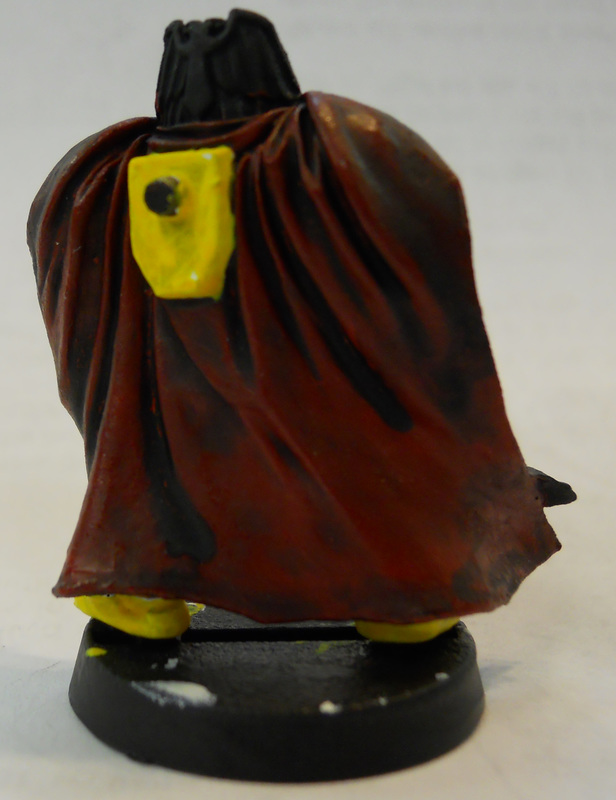
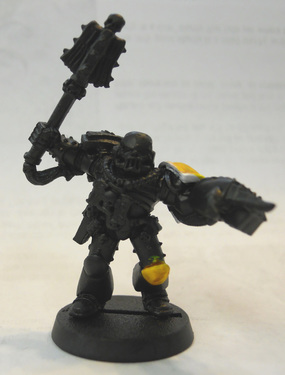
Their Chaplain in Power Armour in progress:
At this point the plan to finish them following the paint scheme in GW’s How to Paint Space Marines is:
Red (Chest Eagle, Shoulder Pad Edges): Skorne Red (P3) with Khador Red Highlight (P3)
Metals: Dark Steel (Haven’t finalized what one yet), with Armour Wash (P3) and highlights
Tactical Arrow: Black w/ edge highlighting.
Pouches/Holsters/Leather like accessories: Just a random brown with a wash of Badab Black (GW) or Devlan Mud (GW) highlighted with base colour.
Bases: Haven’t finalized that one yet. Thinking possibly red desert to highlight the yellow, or cobblestone with black rims. Any thoughts?
Chaplain:
Black armour, highlighted with grey.
Crozius: Possibly copper or bronze with a Badab Black (GW) or Armour Wash (P3).
Power Fist: Maybe Chevrons of yellow and black. Also considering leaving it entirely black and do an energy field on it in blue.
Shoulder Pad and Knee Pad: Finished the same way as the rest of the marines, to tie him in.
Helmet: Possibly doing the skull portion in Menoth White Highlight (P3) highlighted to white.
Hope this helps those who are thinking about trying yellow.
I have found it a suprisingly fun colour to work with and am looking forward to getting these done just to see the final product.
